
User Guide
SAFETY - When yoni steaming is contraindicated
Please refrain from steaming during the following times:
During Pregnancy
During menstruation or when spotting
If you have any open wounds on your genitals
After ovulation if you are trying to conceive
After Insemination or IVF Transfer
Soft Contraindications are times when it is up to the User to decide whether or not they would like to steam. Below are the soft contraindications for steaming:
IUD - mirena/copper
An infection characterised by a burning itch
Tubal Coagulation for contraception
Arm implant for contraception
Uterine Ablation for contraception
Essure Insert for contraception
*Please avoid drinking overly hot teas and/or alcohol during your steam session- room temperature water is best for maintaining hydration.
Before steaming please ensure you have chosen the correct herbs and checked for contraindications using our quiz.

Once you have the correct herbal blend for you, you will need to determine which set-up you are going to use - mild or advanced.
Mild set-ups should be used for:
-First time steamers
-Heat Sensitivities such as excess heat, night-sweats, hot-flashes, bacterial/viral genital infections
-Uterine Sensitivities such as IUDs, short menstrual cycles (27days or less), Aged 12 and under, those prone to spotting, or people who experience two periods per month.
MILD USER SET UP
10minute duration ~ No Heater
1. Set up a sacred ritual space where you will not be disturbed.
2. Take one steam session worth of herbs and add to either a glass or ceramic bowl. Add 6 cups of clean boiled water (Ideally spring water but tap water will also do)
3. Cover your herbs so that they can steep for a few minutes (If your vessel does not have a lid, you can use a plate as long as it is big enough to not let any steam escape)
4. Once your herbs have steeped you can place them either in your steam box, under your steam stool, or somewhere you can safely kneel or stand over them to complete your steam session.
(If you feel there is not enough steam, or you would like it warmer, you can raise the steam bowl closer to you by placing a few books underneath it)
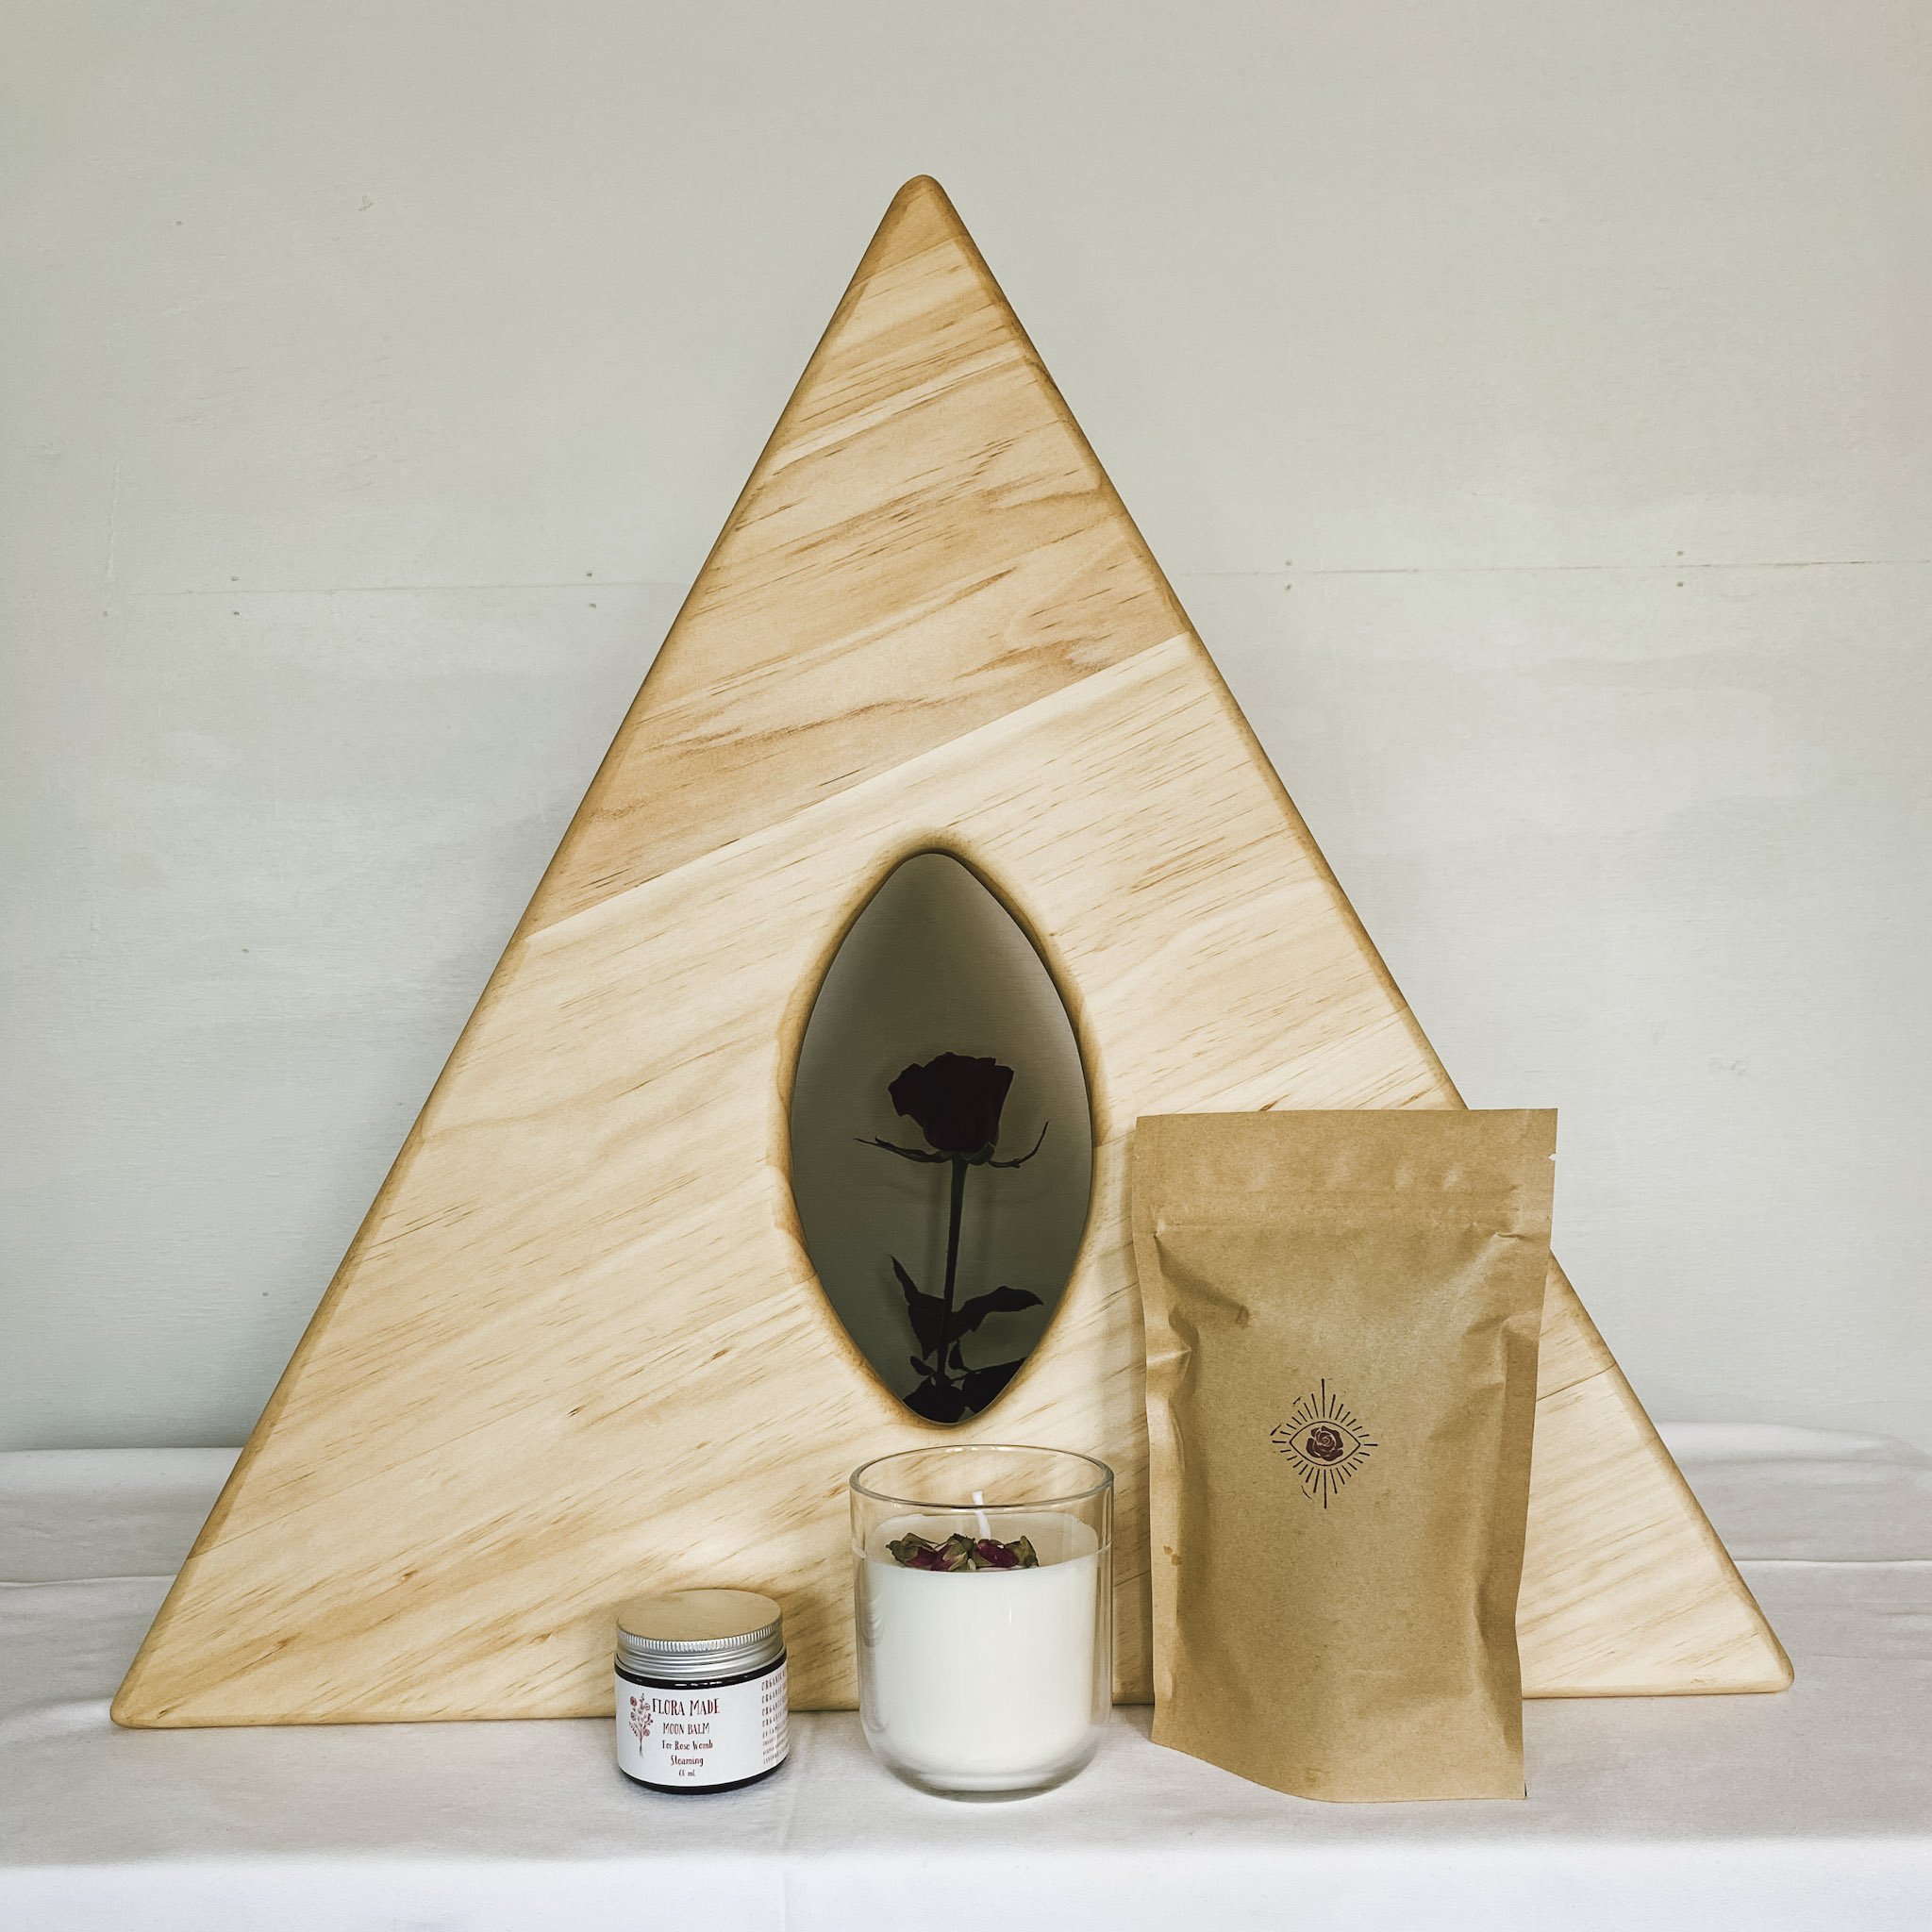
5. If using the Rose Yoni Steaming Box, remove the lid after every steam to ensure any excess moisture dries.
ADVANCED USER SET UP
Advanced set-ups can be used by those who have already steamed before and do not have ANY of the above Heat or Uterine Sensitivities
30minute duration ~ With Heat Source
1. Prepare your herbs by heating 6cups of water with your herbal blend in a pot on the stove.
2. Depending on the electric burner you are using, as well as the type of pot you have, it can be difficult to advise which temperature setting to use. I always recommend starting on low at the beginning of your steam and turning up if desired.
3. Once your herbs are prepared you can place them on your burner and complete your steam session.
4. If using the Rose Yoni Steaming Box, remove the lid after every steam to ensure any excess moisture dries.
What to expect after a yoni steam session:
You may experience some mild cramping (either directly after steaming or during your next bleed)
You may experience some increased discharge
You may need to have a big emotional release, be kind to yourself as emotions arise.
Please ensure you drink water before and after your steam so you do not become dehydrated, especially in warmer climates.
Other Handy Tips:
Keep warm while steaming, wrap a blanket around your bottom half to ensure no cold air is entering.
Wearing socks will also help you to stay warm.
*Feel free to reach out if you here if you have any questions or concerns.

Setting up your yoni steaming seat
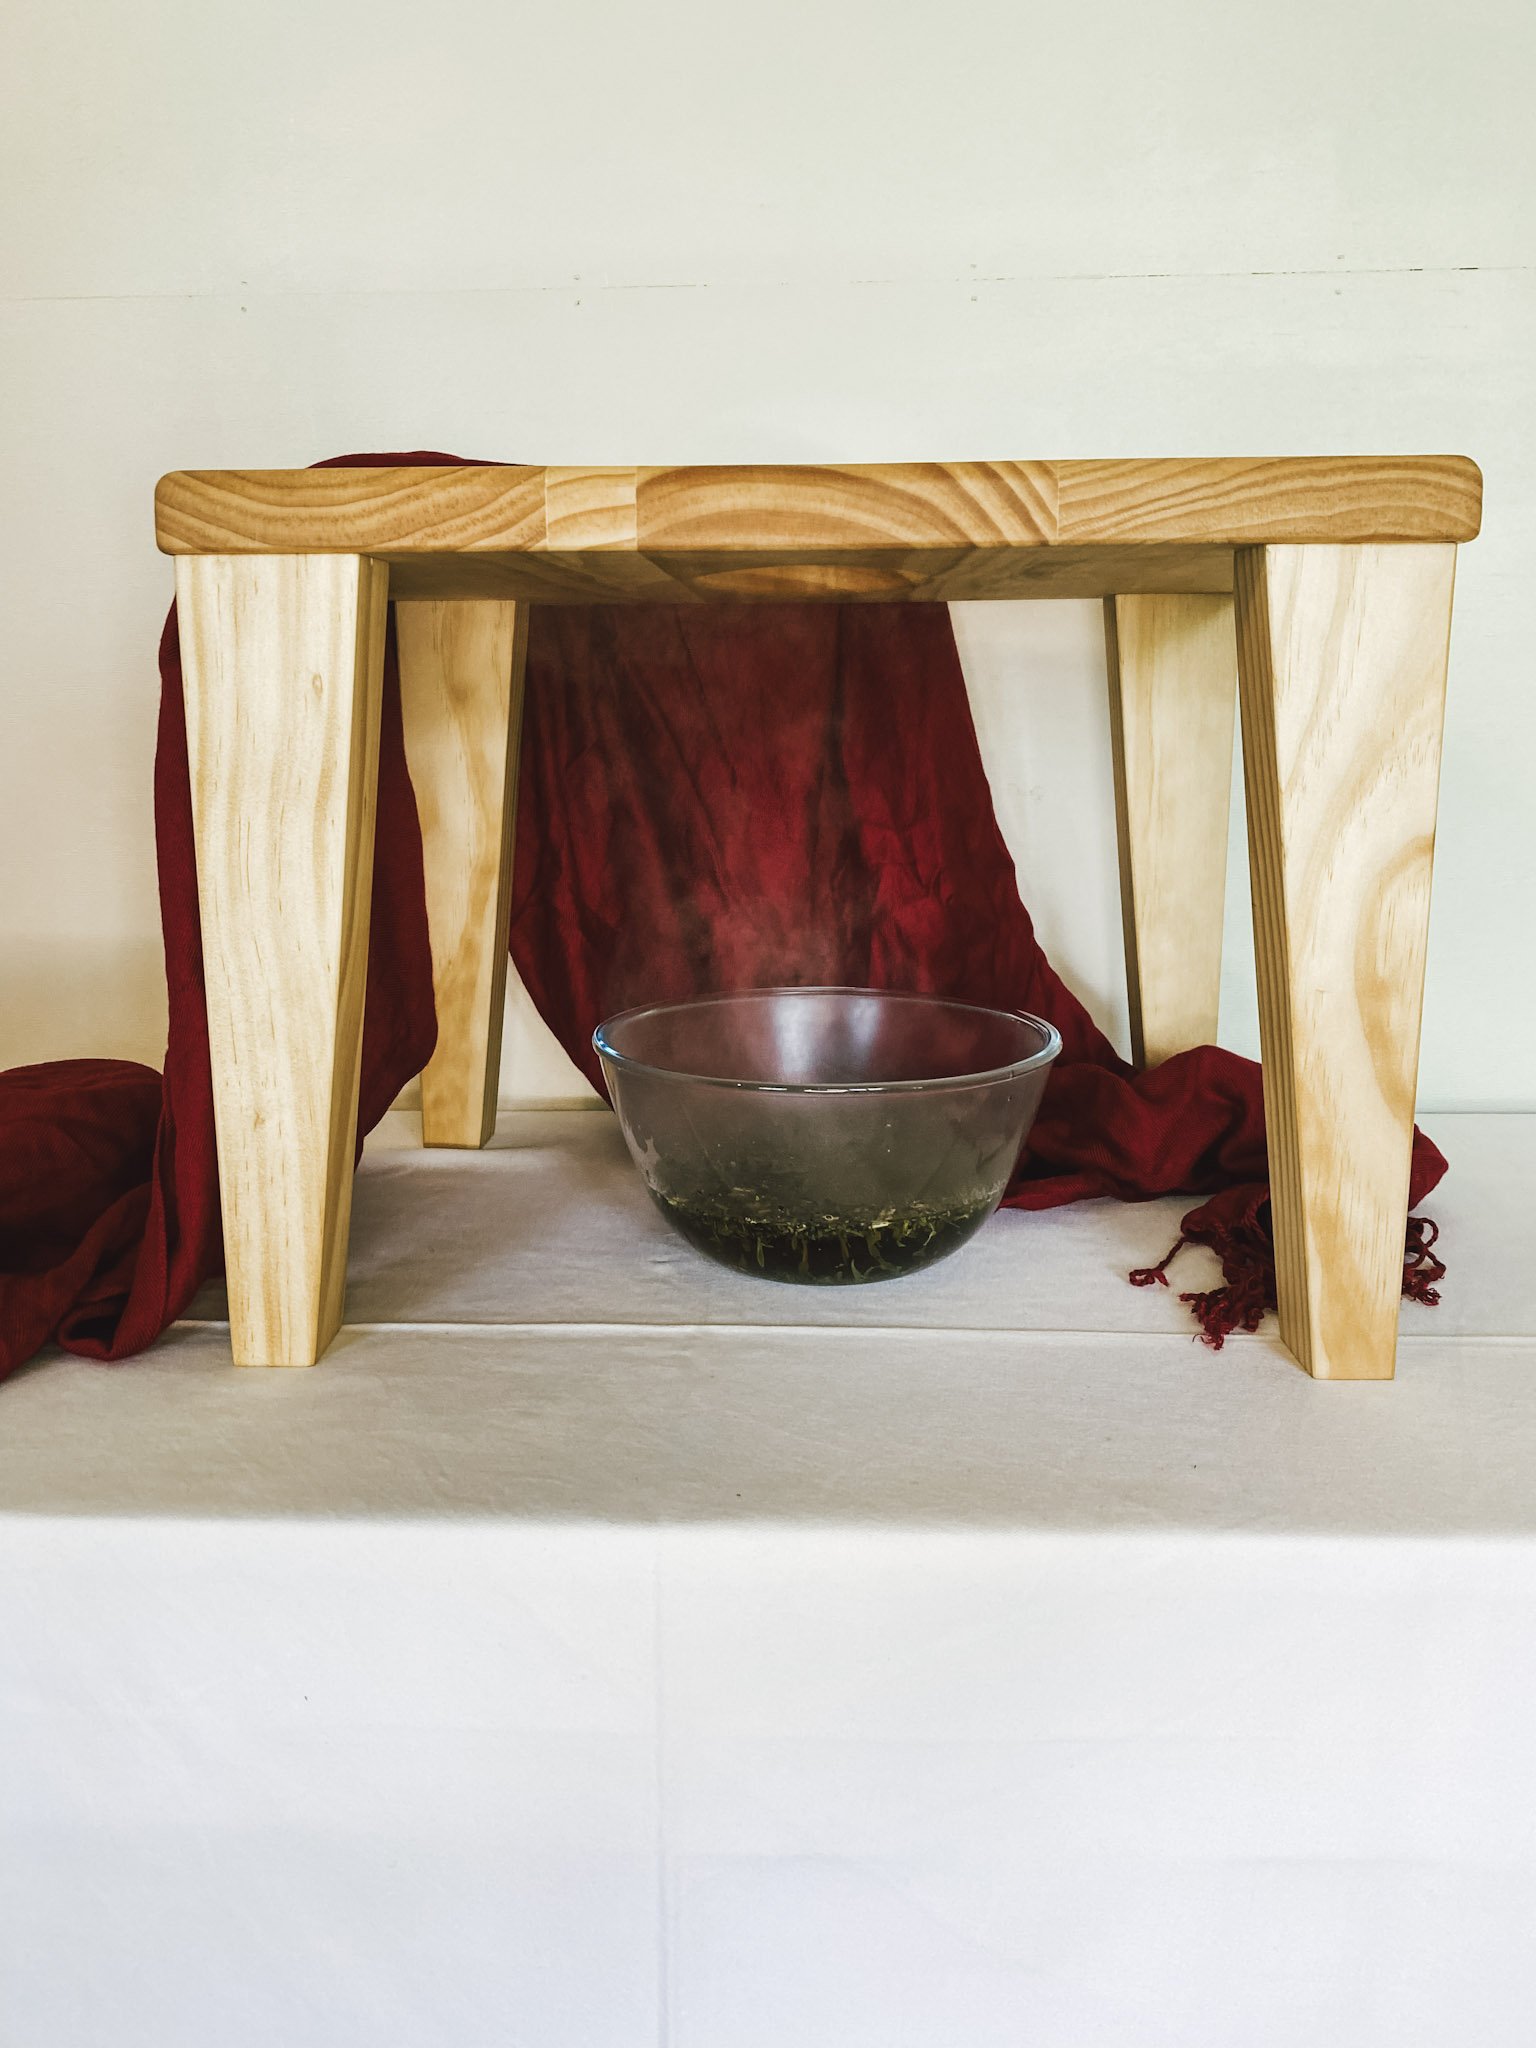

The Petal Yoni Steaming Seat
1x Steam Seat Top
4x Screw-in Legs
Step 1:
Take the seat lid and turn upside down, screw in the four legs one by one. Each leg is marked with a small squares which corresponds to the marked holes on the underside of the seat.
Step 2:
Screw the leg in tightly and twist until all legs have the angled side facing inwards. They should be firmly screwed in with minimal no movement.
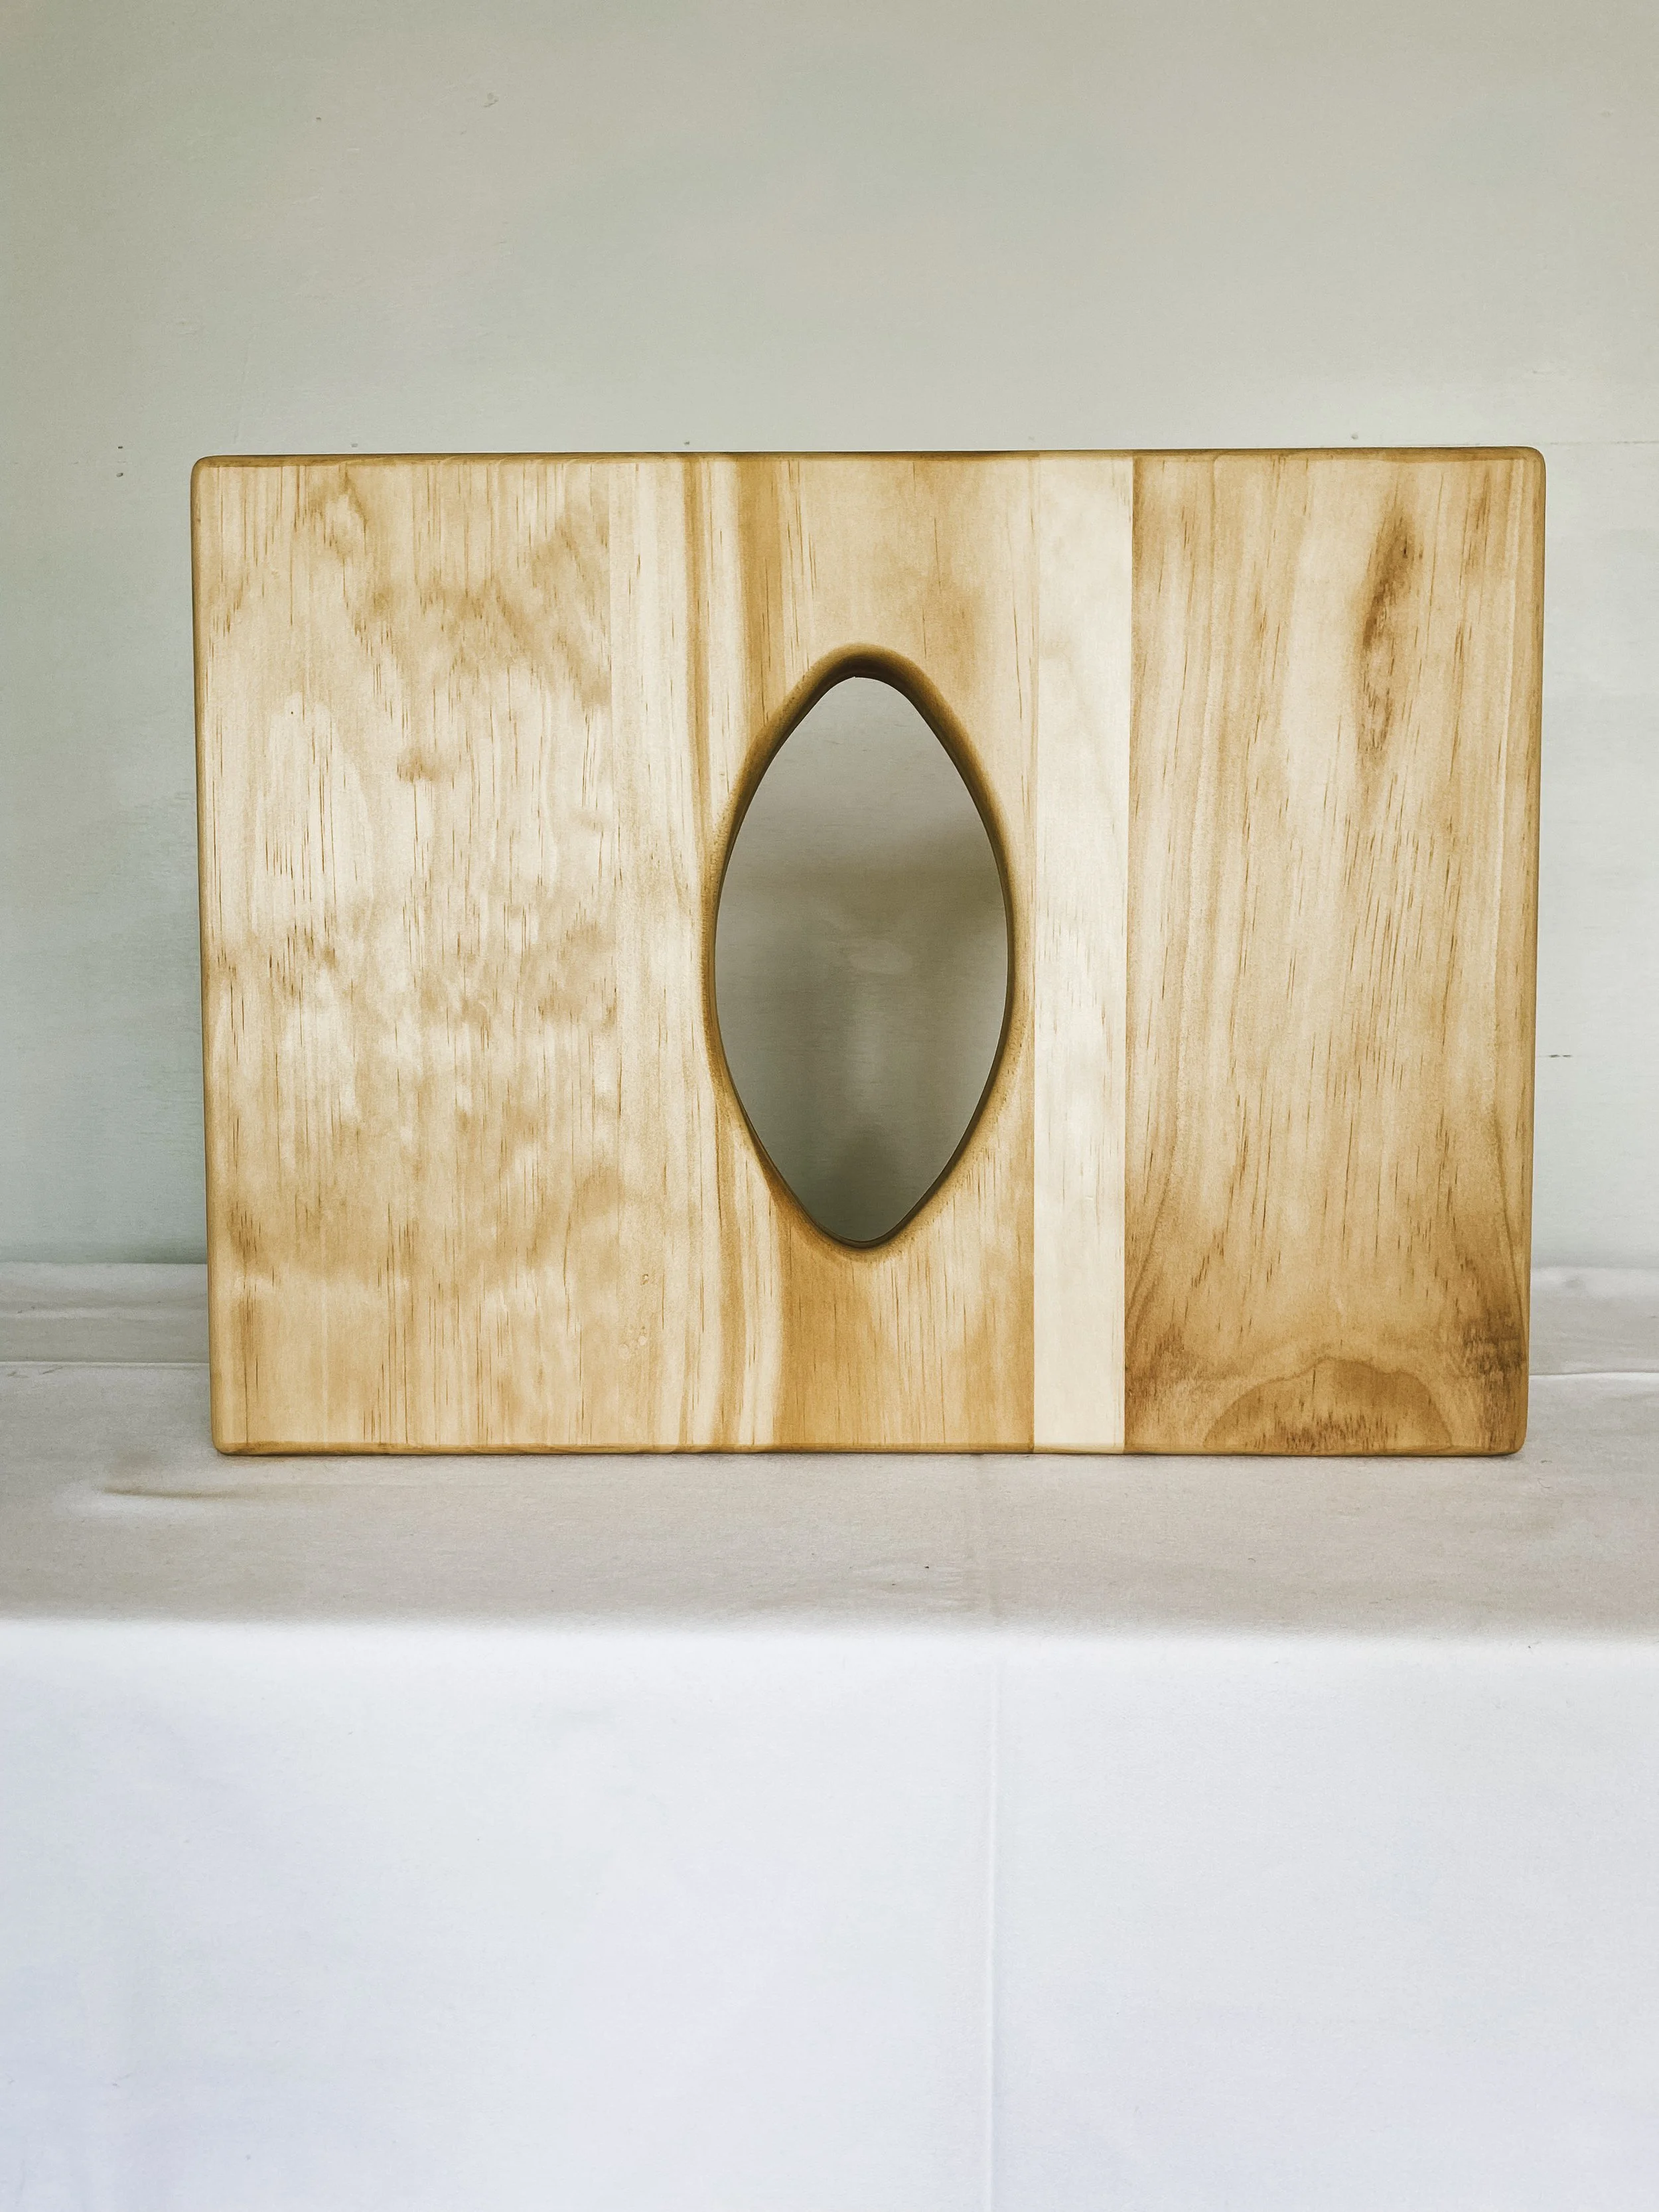
The Rose Yoni Steaming Box
3xSide Panels
1xLid
9xScrews
1xHex Key
Step 1:
Take Panel | and || (marked on the edge of each panel), Line up at the pre-drilled holes and start by screwing in the middle screw, followed by the bottom screw and lastly the top screw. Ensure the panels are nicely flush against one another.
Step 2: Follow the above step for screwing together panel || and |||.
Step 3: Follow the above step for the joining together panel ||| and |.